Connecting a custom domain to your Zaap page is a powerful way to brand your link-in-bio and make it easier for your audience to find you. Zaap is the most advanced link-in-bio tool that allows you to showcase all your links, content, and products on a single, customizable page. By linking your own domain, you gain a professional touch and better control over your online presence.
What you will build
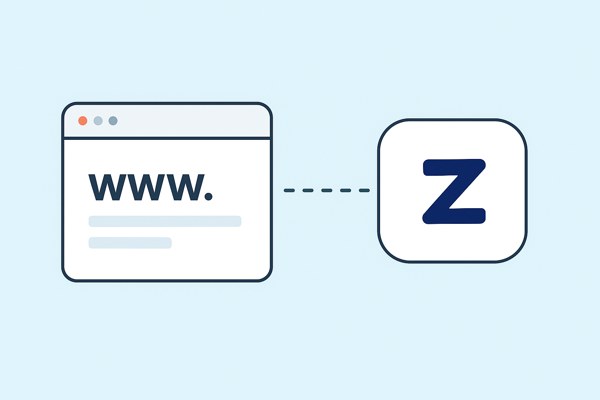
In this tutorial, you will learn how to connect a custom domain to your Zaap page. This process involves modifying domain settings to point to Zaap’s servers so that your Zaap page appears under your personalized URL.
The end result will be a fully functional link-in-bio page hosted on your own domain, such as www.yourdomain.com, instead of the default Zaap URL. This enhances your branding and makes sharing your page easier across social media, email signatures, and marketing.
Whether you are a creator, entrepreneur, or small business owner, having a custom domain connected to Zaap will elevate your professional image and help drive traffic to your content and products seamlessly.
Prerequisites
- You must have an active Zaap account. If you haven’t signed up yet, visit the Official Zaap site to create one.
- You need to own a domain name. This could be from registrars like GoDaddy, Namecheap, Google Domains, or others.
- Access to your domain registrar’s control panel to edit DNS records.
- A basic understanding of DNS settings such as A records, CNAME records, and TTL values.
- The custom domain you want to connect should not be in use by other services already.
- Patience for DNS propagation, which can take up to 48 hours but usually is much faster.
- A modern web browser to log into your Zaap and domain registrar dashboards.
Step-by-step tutorial
- Log in to your Zaap account
- Visit the Zaap website and sign in with your credentials.
- Navigate to your dashboard where you manage your link-in-bio pages.
- Look for the settings section where you can configure your custom domain.
- Access the custom domain settings in Zaap
- Within your Zaap dashboard, find the Custom Domain or Domain Settings tab.
- Click on Add Custom Domain or a similar option to start the connection process.
- Prepare to enter your domain name exactly as it appears, including any subdomains (e.g., www.yourdomain.com).
- Enter your custom domain
- Type in the full custom domain you want to connect (for example, www.yourdomain.com).
- Save the settings to generate the DNS records info that Zaap requires you to update at your domain registrar.
- Note down the DNS details that Zaap displays, typically a CNAME record pointing to Zaap servers.
- Log in to your domain registrar
- Open a new tab and sign into the control panel at your domain registrar’s website.
- Locate the section for DNS management, DNS zone file, or name server settings.
- Select the domain you want to connect to Zaap.
- Update DNS records
- If using a subdomain like www, create or edit a CNAME record with the name www.
- Set the CNAME record to point to the Zaap domain provided (e.g., cname.zaap.ai or similar).
- If you are using a root domain (e.g., yourdomain.com without www), configure an A record pointing to the IP address provided by Zaap if available.
- Save all changes in your domain registrar’s DNS settings dashboard.
- Return to Zaap and verify domain connection
- Go back to Zaap’s custom domain settings page.
- Click on the Verify Domain button or similar prompt to check if DNS changes have propagated.
- Wait a few minutes, and if propagation is complete, Zaap will confirm the domain is successfully connected.
- If verification fails, re-check your DNS entries for typos or errors and ensure you saved them correctly.
- Configure SSL for HTTPS
- Once your domain is verified, enable SSL via Zaap to make sure your link-in-bio loads securely over HTTPS.
- This step may be automatic, or you may need to toggle a setting to activate HTTPS support.
- SSL certificates usually take a short time to issue, after which your site will be secure and trusted by browsers.
- Test your connected domain
- Open a new browser window and type your custom domain URL.
- Verify that your Zaap link-in-bio page loads correctly with the custom domain in the address bar.
- Check that all your links, content, and products behave as expected on the branded URL.
- Promote your branded Zaap link
- Start sharing your custom domain URL on social media, email footers, and marketing materials.
- Encourage your audience to bookmark or save the new URL for easier access.
- Regularly monitor your custom domain settings in Zaap for any required updates or troubleshooting.
Common mistakes
- Forgetting to include the www or correctly specifying subdomains when entering the domain in Zaap.
- Not saving DNS record changes correctly at the domain registrar, causing propagation to fail.
- Attempting to use a custom domain that is already linked to another platform or service.
- Mixing up A records and CNAME records – Zaap usually requires a CNAME record for subdomains.
- Ignoring DNS propagation time and immediately trying to verify the domain in Zaap before changes take effect.
- Not enabling SSL or HTTPS, which can cause browser security warnings on your custom domain.
- Entering typos or incorrect Zaap DNS target addresses during DNS setup.
Next steps
After successfully connecting your custom domain to Zaap, consider exploring additional customization options within Zaap’s dashboard. Personalize your page design, add new links, or integrate product showcases to maximize the effectiveness of your link-in-bio.
For ongoing optimization, track how visitors interact with your Zaap page via integrated analytics, and adjust content based on real-time engagement data. If you run into any issues or want to learn about advanced features, the Zaap support documentation and community forums are valuable resources.
To further enhance your digital presence, look into other AI-powered productivity tools and digital marketing strategies available on Techzog. Building your online brand with a custom domain and Zaap is just the beginning of a professional and cohesive web presence.