








Building anticipation for a new SaaS product is key to a successful launch. A well-designed waitlist page helps capture early interest, collect potential users’ contact details, and create buzz. Fortunately, you don’t need to be a developer to set up a professional waitlist page. With tools like Framer for design and Loops for email automation, you can create an effective waitlist system that engages your audience from day one.
Why Use Framer and Loops for Your SaaS Waitlist
Choosing the right tools can save you time, reduce complexity, and improve results. Framer offers no-code website building with modern design capabilities that are easy for non-developers to master. Its responsive design features and built-in hosting let you launch your page quickly without technical headaches.
Loops complements Framer by managing your waitlist contacts with event-based email automation. This allows you to connect with your audience, send targeted updates, and nurture interest as you prepare for launch. Unlike some email marketing platforms, Loops’ pricing is straightforward, based on contacts without complicated email volume tiers.
Step 1: Design Your Waitlist Page in Framer
Before collecting emails, your page needs a compelling, user-friendly design. Here’s how to get started:
- Create a new Framer project: Sign up at framer.com and select the Basic plan or start with the free tier.
- Choose a template: Framer offers pre-built page templates perfect for SaaS waitlists. Pick one that matches your branding or start from a blank canvas.
- Design key elements: Include a headline that highlights your product’s value, a short description, a simple email signup form, and visuals that showcase your brand.
- Use Framer’s AI design tools: These can suggest improvements to layout and color schemes to ensure your page looks professional and cohesive.
- Optimize for mobile: Framer’s responsive design ensures your waitlist page looks great on phones and tablets—a must-have for capture rates.
Step 2: Integrate Loops to Capture and Manage Emails
Once your page design is ready, set up the backend to handle signups efficiently. Loops makes it easy to collect, organize, and automate email communications.
- Create a Loops account: Use the free tier to get started at loops.so, which supports up to 1,000 contacts—perfect for early stages.
- Set up a subscriber list: Create a dedicated mailing list for your waitlist signups within Loops to keep contacts organized.
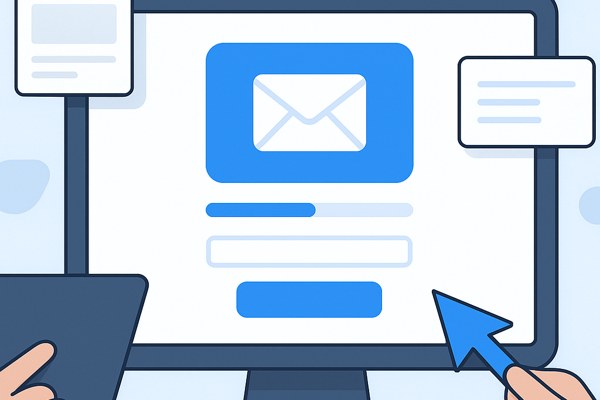
- Connect Loops to Framer: Use Framer’s form integration options to link your email signup form directly to your Loops list. This connection captures subscriber information in real-time.
- Automate welcome emails: Configure event-based automation in Loops so new signups receive a personalized welcome message, confirming their spot and building excitement.
- Segment your audience: As your list grows, use Loops’ segmentation features to target groups with specific updates or launch offers.
Step 3: Optimize and Launch Your Waitlist Page

Before promoting your waitlist, ensure everything functions smoothly and looks polished.
- Test the signup form: Submit test emails to confirm data transfers properly from Framer to Loops.
- Check email deliverability: Verify your welcome emails arrive promptly and appear professional.
- Preview on all devices: Use Framer’s device preview tool to double-check your design on desktop, tablet, and mobile.
- SEO and performance: Framer’s built-in SEO tools help your page rank better, while their hosting ensures fast load times.
- Publish your page: Launch your waitlist page on a custom domain and monitor initial traffic using Framer’s analytics.
Simple Checklist Before You Go Live
- Page design is clear, attractive, and mobile-friendly
- Email signup form is connected to Loops correctly
- Welcome email automation is configured and tested
- SEO settings have been optimized for discovery
- Load times are fast and no errors appear on the page
- Analytics tracking is enabled to measure signups
What to Do Next After Launching
Once your waitlist page is live, the work shifts to marketing and engagement:
- Promote your waitlist: Share the link on social media, newsletters, relevant communities, and through partnerships.
- Send regular content: Use Loops to automate drip emails about your product updates, sneak peeks, or launch countdowns.
- Gather feedback: Engage your subscribers with surveys or early beta invites to refine your offering.
- Measure and iterate: Analyze engagement metrics through Framer analytics and Loops reports to understand what messaging works best.
For a deeper dive on launching SaaS apps successfully and using no-code tools, visit our Development category at Techzog.
Conclusion
Building a strong waitlist page is a strategic first step in any SaaS launch. By combining Framer’s easy, no-code website design with Loops’ powerful email automation, non-developers can confidently create an effective lead capture system without complex infrastructure. Start small with Framer’s free tier and grow your list on Loops without worrying about complicated pricing models.
Take action now: design your waitlist page, connect your signup form, and automate communication to build momentum for your SaaS launch. Your future users are just one signup away from becoming loyal customers.